Building a Lithium Scooter Battery
Earlier this year, my second CUDA battery died after many years of use. I had always wanted to get a lithium battery for it, but didn’t want to pay well over $1000 for one. Since I had two dead batteries sitting on the shelf, I decided to have Batteryspace.com rebuild one while I used the other to learn how to make batteries. Fortunately, I have smart dive buddies, and they gave me lots of tips along the way.
I really wanted to max out the capacity, so decided to go with 4 packs of 12 cells (4p12s). Using these Samsung 5000mAh cells, I calculated about a 2-hour runtime, which is about 50% more than I got from the NiMH batteries from Dive-Xtras. The first challenge was figuring out how to get 48 cells into the battery canister. The 21700 cells are taller than the NiMH cells it came with, so I couldn’t just copy the original design and create two identical stacks of cells. I ended up designing a new bottom tray that would hold three packs, and then fit the 4th pack on top, utilizing the open space in the top center of the canister cap. The new tray would allow use of three of the original six all-thread supports. One of my non-diving buddies graciously printed it up for me.

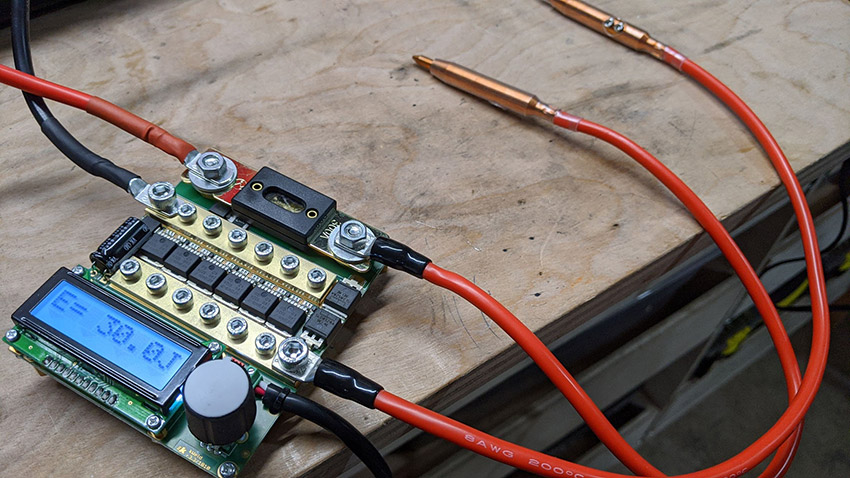
I borrowed another buddy’s Chinese spot welder, which sat on my workbench for six months before I got around to starting this project. By then, I figured I’d just get my own and decided on the kWeld. The Chinese welders have very spotty (pun intended) reviews, but the kWeld was highly rated and had several good YouTube videos demonstrating assembly and usage. COVID was making LiPo batteries hard to get, so I picked up a car battery from AutoZone to power it.
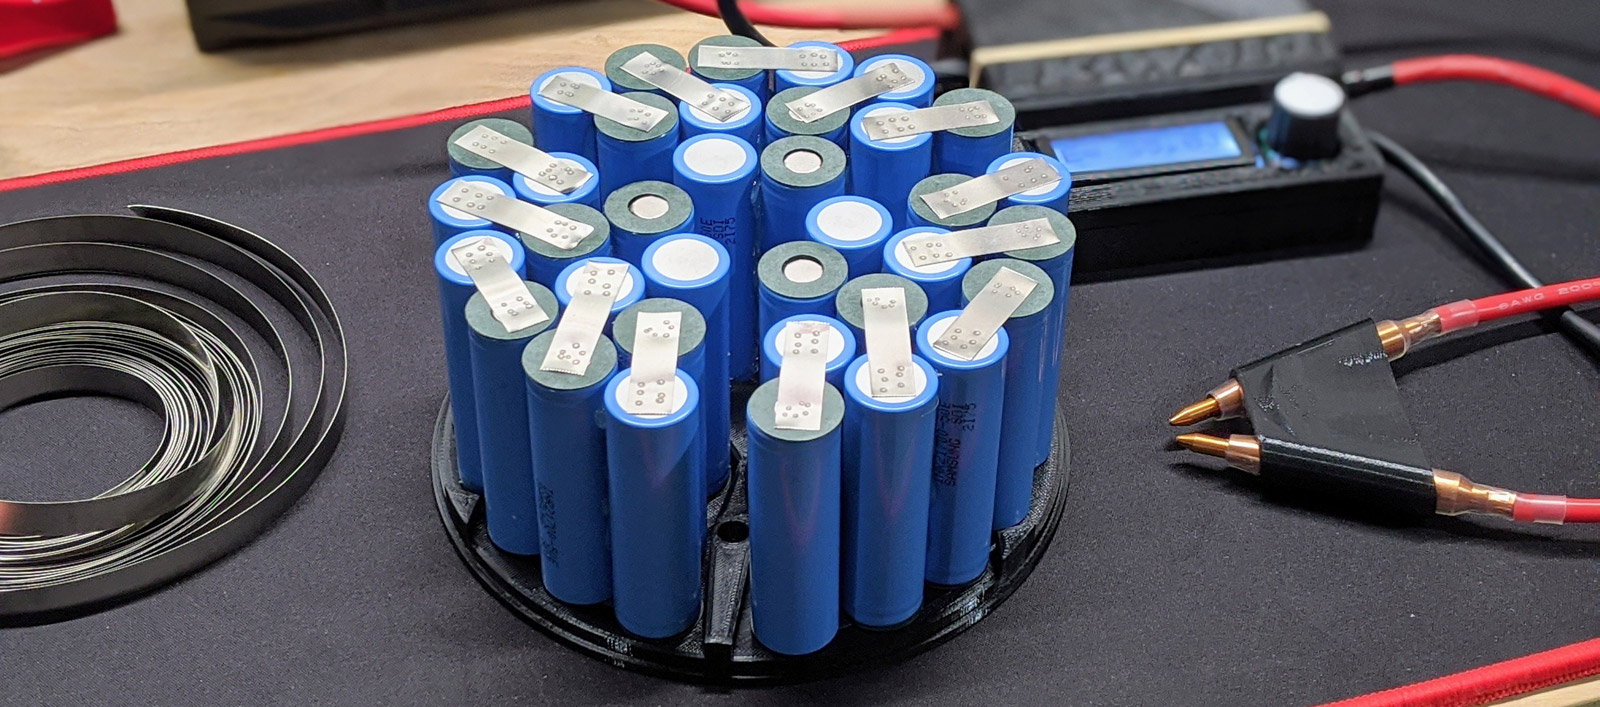
COVID was also making chargers hard to get, so I decided to just use one of my two 50.4V NLS chargers. These charge at only 1.5A, which means the battery would take forever to charge. However, it also means I could forego a thermistor since the battery wouldn’t heat up while charging. I also decided to not use a BMS after reading mixed reviews and having one fail in my video lights. Altogether, this led to a very simple design with minimal components and a single charge/discharge connector. With that, I started welding up the packs with 0.2x10mm nickel strips.
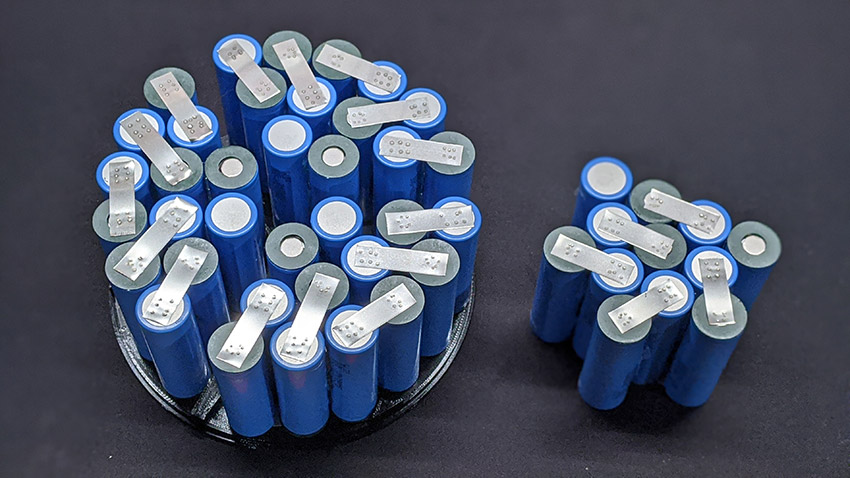
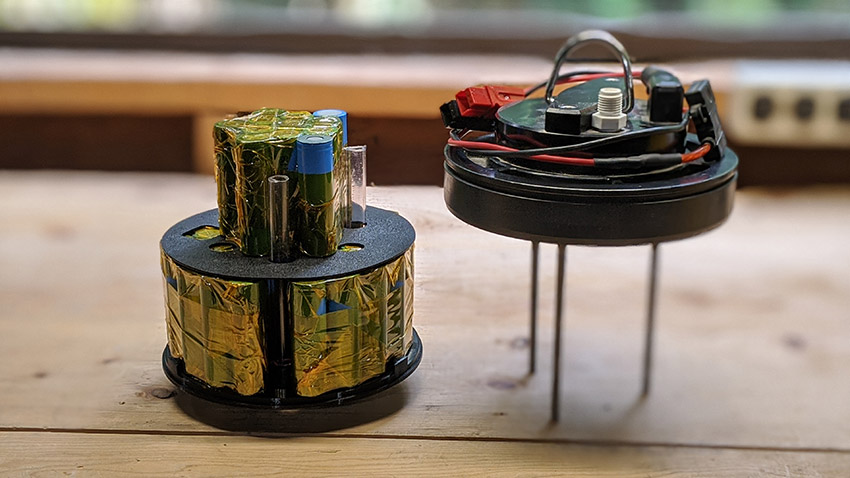
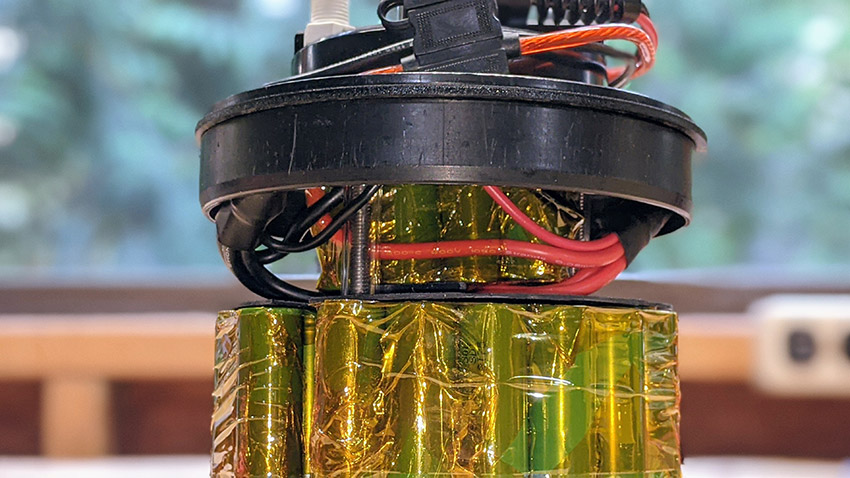
Once the packs were welded up, I wrapped them in Kapton tape to help avoid any shorts if a weld broke loose. Then I test fit everything in the canister to make sure it was going to work.
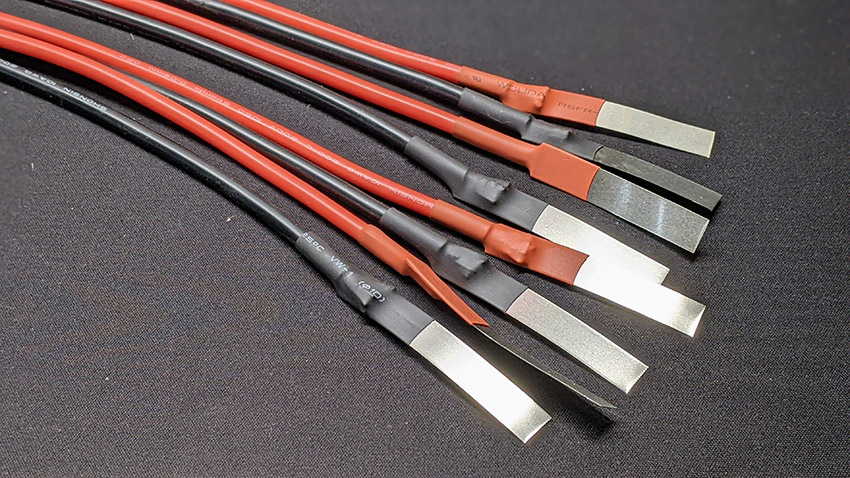
Now that everything was looking pretty good, it was time to make up the leads for each pack. I soldered the leads to nickel strips before welding them to the packs to avoid heating up the cells.
The leads from the bottom three packs were fed up through the center. I didn’t want the top pack sitting directly on the wires, so I made some spacers to support the top pack. Then I soldered all the pack leads together with the discharge leads and covered in heat shrink.
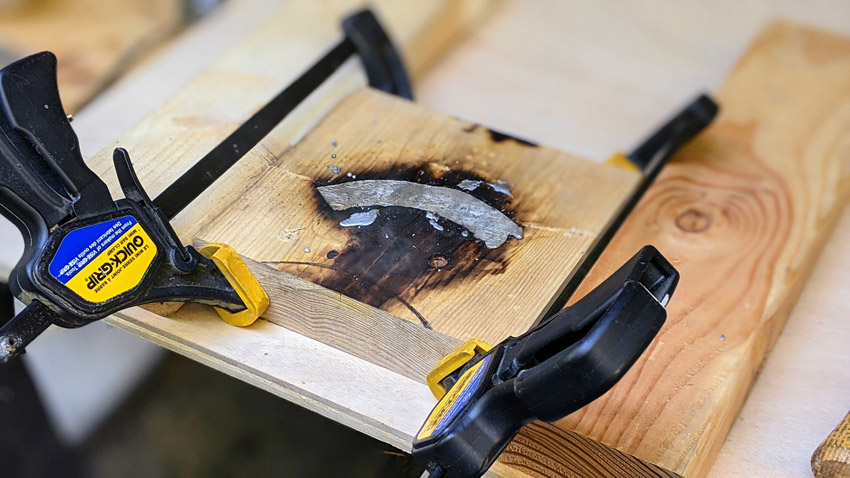
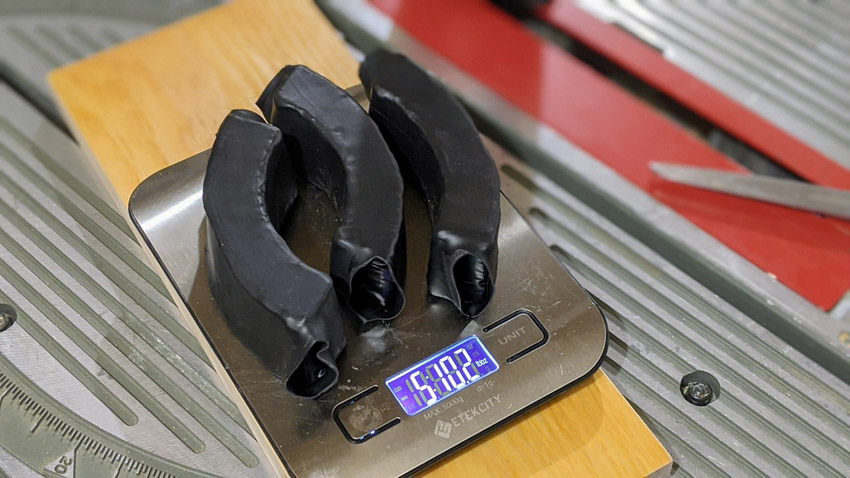
The lithium battery weighed a lot less than the NiMH battery. I really wanted to keep both batteries the same weight so they’d be interchangeable, which meant adding weight inside the lithium canister. I tried making up soft weights from pellets and also cutting up some hard belt weights. However, the remaining space inside the canister was curved, so I just couldn’t make it work. In the end, I had to pour some custom weights.
This let me get almost 6 lbs inside the canister, which fit nicely around the top pack.
The last step was to make up an adapter to connect the Anderson plug to the banana plugs on the NLS charger.
This was a super rewarding project, and I now have the lithium battery I wanted, plus a great spot welder for future battery projects.